In the fall of last year, a friend of mine asked me to build her a sofa table after seeing a table I made for my front porch. I and my note pad took a trip to visit her and catch her vision as well as learn specifics of the size and colors she was looking for.
So here's the little table I made for myself. I love quilt block patterns. I'm always reminded of my Mom and Grandma when I see amazing quilts but for this season of my life, I would rather play with power tools than sew. My solution was this table. I drew out, wood burned, painted, and distressed the top before sealing the paint in.
My friend loved the quilt idea and wanted it on a sofa table. First, let me share with you my inspiration plans for this project. You can find them by the amazing The White Cottage Farm by clicking the name. These plans gave me the basic construction idea and I got to add my own touch to that.
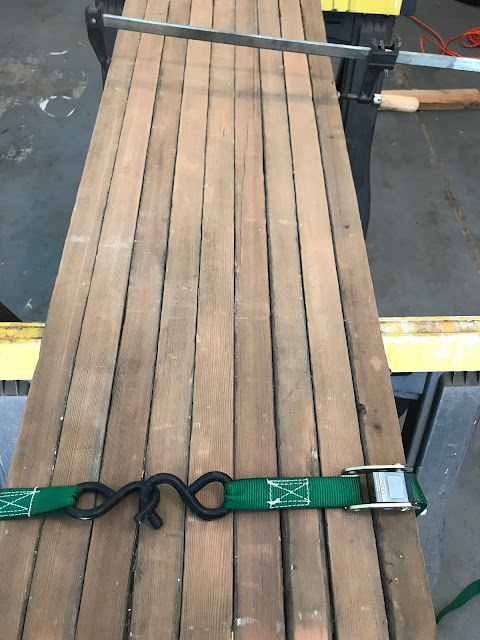
My dad gave me this old, wood scaffolding and I couldn't wait to use it as the table top for this project. I had to cut the lengths, sand it all down, and wood glue those babies together.
Also.
I only had one clamp when I was waiting for the glue to set. I had to get creative and use these straps on either end that I conveniently found in my garage. (Ha!)
I used the plans I linked up there ^ to build the base of the sofa table. My choice in wood was pallet wood. I found a pallet that was about 6 feet long so I was able to cut 2 big lengths down to create 4 equal sized legs that were already full of character since they were a little beat up. For the bottom shelf of the table, I used a finished piece of plywood.
Again, she wanted a specific size so I built a bit taller and to a specific length and depth for the space she was putting it in.
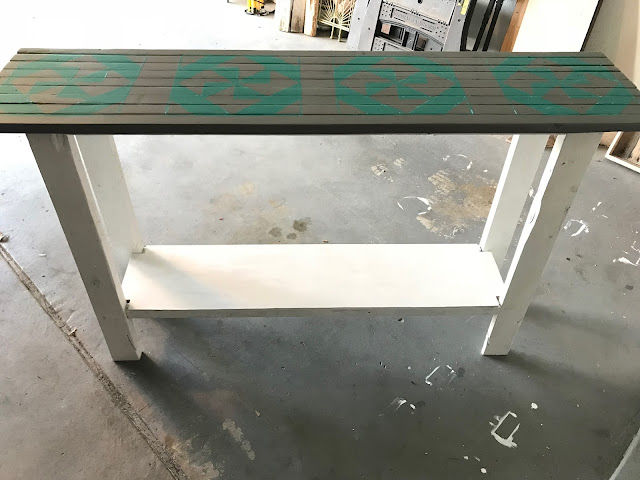
After everything is put together, CHALK PAINT-AH! We went grey for the top and a white with a grey undertone for the legs/bottom shelf. She also chose her quilt square design. I created a pattern, used a pencil to draw it on the table top after measuring to make sure it was all even-steven in spacing.
Here's where it gets tricky. She wanted turquoise for the quilt pattern color so I grabbed a color. After showing her what it looked like, she let me know she was looking for something a little deeper turquoise and less teal.
This actually worked out perfectly. I'll explain.
I went back to the store and sent her a text message with a few more color choices. She made her choice and I was able to paint right over the lighter color.
BUT.
When I distressed the top, the lighter color popped out here and there giving the table top a neat patina look.
(It just goes to show you, in a creative life there is no such thing as a "mistake"...mostly...lol)
DON'T FORGET to seal your chalk paint. I used a clear, satin varnish to finish it up.
This pretty little thing lives happily in its new home.
I had so very much fun making it and can't wait for spring so I can build more furniture pieces. This time, I'll be making things for my new home in Kentucky. Stay tuned! (And please tell Spring to hurry it up!)
~Amy
PSST: Feel free to give me ideas of DIY's you'd like to see here in the comments. :)


0 comments:
Post a Comment
I am so happy you stopped by today. What is on your mind?