One of the things I wanted to change right away in my home was this blank, brick wall in our living room. We've been here a little more than a year but I promise you, it only takes me about a month before I start dreaming up all the DIY projects I can do in a space.
Back up with me to when I was living in my big 'ol historic home. I lived right across the street from my parents and my dad walked over a couple old railroad ties for me to have. I didn't really know what to do with them at the time, so I figured it couldn't hurt to let them sit outside and "weather" a bit more. But when the day came for us to close on our current home, I looked at the blank, brick wall and said "We can use one of those railroad ties as a mantle!".
Yep. I went into my backyard and chose the best one to pack up and bring with us to our new home. It sat in my yard again for some time, until we were finally able to bring it in.
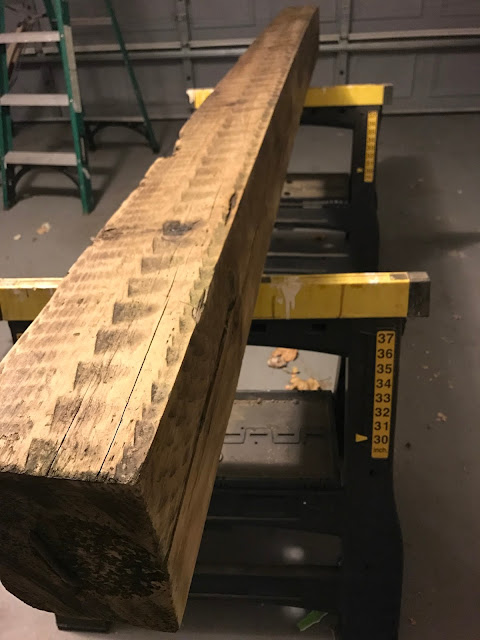
Earlier this year, I set it up in my garage to dry out a bit. Then, after giving it a little bit of a sanding down, I applied 2 coats of Tung Oil to bring out the natural color and patina of the wood. I wanted it to be as beautiful as it wanted to be while not trying to make it look new or "cleaned up". The worn down look is best sometimes, if you ask me. :)
This railroad tie is HEAVY and we wanted to make sure it wasn't going to budge once we put it up. We measured it out and decided to use lag bolts to mount it to the brick wall.
So once we marked the spots out, we had to drill holes into the brick and match up where we drill the holes in the railroad tie. This is so tricky. To match up the holes on the railroad tie, we took a long piece of paper, measured it to the length of the wood, and marked where the bolts were in the wall. Then we used that as a map to mark the wood and drill holes in the right spots.
(If you take this on, take your time! We were very careful and made sure to do our best at measuring everything right.)
Lifting this up and mounting it onto the bolts took 3 people and a sledge hammer. We tapped the railroad tie into place by going back and forth, side to side, and again by TAKING OUR TIME.
Now, the brick is textured and wouldn't let us mount it "flat" to the wall. We got it as close to snug as we could. It wasn't about to budge.
But.
For added "hold it up" tension, we used a hook and eye and some rope. By slightly pushing the mantle up, it's easier to tie a knot with the rope, leaving a little lag in it. Then when the mantle is back in its original position, the rope becomes taut and adds another measure of security.
I saw a few other examples where people used chains in the same way. I personally like the texture of the rope for a warmer feel and felt like chains would give it a more gothic look. It's up to you. Use finishing details that speak to your own taste.
This room now has that cozy, cottage feel that I was hoping for. Scroll back up to the "before". You can see what a big difference it makes. I'm absolutely smitten. Now, most days you can find me on the love seat right beside the fireplace, whether there's a fire going or not.
Tell me about one of your more recent DIY projects. I love to soak up inspiration from other people.
~Amy


0 comments:
Post a Comment
I am so happy you stopped by today. What is on your mind?