

I love the look of a French Memo Board but there's no way I wanted to pay the hefty price tag of one that I wasn't even sure the person I was shopping for would like. I decided to try my hands at a DIY project so I could customize it and I had a lot of fun putting this together.
First, let's talk about what you need!
I headed over to Walmart to grab some things from the Elmer's Memory Keeping and X-ACTO Lines.


Pssst....click that button right there to enter for a chance to win the wall of product! It's OK. I'll wait and start the tutorial when you get back. ;)

- 1 20x30 Elmer's foam board
- Small scrap of thin batting {optional}
- 2 Fat Quarters of fabric
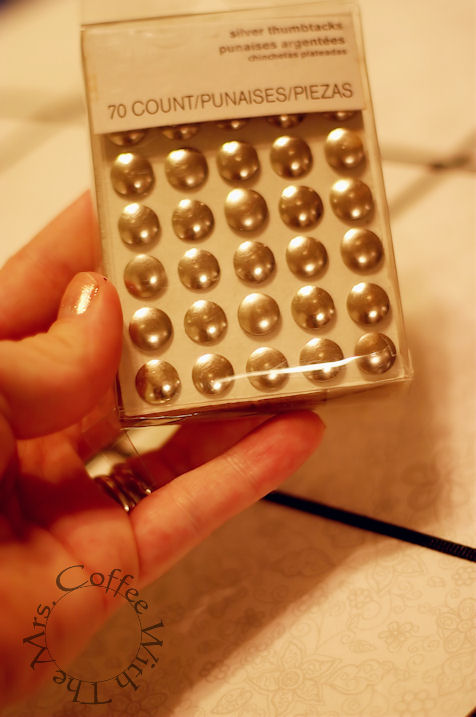
- About 20 thumbtacks
- One Spool of Ribbon
- Elmer's CraftBond Foam Mounting Tape
- Elmer's CraftBond Wet & Dry Dual Tip Glue Pen
- X-ACTO Designer Series Craft Swivel Knife
- X-ACTO Designer Series Precision Tip Scissors
- X-ACTO Decorative Shapes Templates
- 1 piece, plain cardstock or construction paper
- 1 piece of scrapbook paper
- Paper cutter {optional}


Now to get to work! First, I drew a line down my piece of foam board so I could cut it exactly in half with my X-ACTO knife. To get the finished look I was going for, I knew I would need 2 pieces.
Next, I grabbed some scrap batting that I had left over from another project I did a while back.


I cut this to be a tad bit smaller than the foam board. In projects done with wood, you would cut this larger than the board so you could pull it around the sides and staple gun it into place. Foam board doesn't care much for staple guns so I took a different approach.

For this project, grab the foam mounting tape and put 2 pieces on each corner {as pictured above} and put one, additional piece on the sides in between the corners.

Pull the backing off the tape...

and starting at one corner, gently tug the batting into place on the tape...

until you've covered the board.
{Remember, you don't have to do this part, I just wanted the front of the board to be a little more plush than flat. }

Now, it's time to grab your fat quarter of fabric {just one for now}.

Lay it on the foam board, covering the batting and making sure the board is centered beneath it. Gently sandwich the board and the fabric between your two hands and flip it over so you can work on the back of the foam board.

Grab that glue stick!

Now it's time to glue the fabric to the back of the board. I did it in this order:
- left side
- right side
- top
- bottom


Now, roll out the ribbon from one corner of the board to the other, leaving about 2 inches on either end to be folded around the back.


Making sure there are no twists in the ribbon, secure it on one corner with a staple {mine didn't go through the board}

Then, on the opposite corner, pull the ribbon tight and staple it down on the back.
That first ribbon will become your guide for the others you put into place. I "eye-balled" where the ribbons should go on the front of the board before securing them down. Just be sure to make stripes one way only, until you're happy with the look of it.

Then, beginning at the opposite corner from the one you started on, go over the ribbons that are already down and staple it into place as you have been.

You'll be doing the same thing you were doing before, just from the other angle so you can create the diamond shapes that will become the memo or photo holders.

Once the foam board is full of diamonds, {and to your liking} grab the thumbtacks.
Simply push one down at every ribbon's intersection. These will go through the foam board, but don't worry. You'll be creating a finished look for the back that will hide all the staples and pointy tacks.
To do this, grab your second piece of foam board {remember the other half you have left over?} and the second fat quarter of fabric. Now, simply cover the board with the fabric the same way you did at the beginning of this project. Make sure it's nice and taut and glued into place.
After that's done, grab the foam mounting tape again and put some at each corner of the foam board's raw side and one additional piece between each corner on the board's length and width. {You can do 2 additional pieces if it makes you feel better.

Now, you need to make the board's hanger. I {again} eye-balled how long the ribbon should be to hang it on the wall. I ended up going with about 2 feet, give or take an inch or two, and stapled it down on the top corners BEFORE putting the finished back piece on. {You determine which side is the top, obviously.}

Now, go ahead and put the finished backing into place and make sure to push down hard where the mounting tape is so it secures well.

Wa-La! We have a French Memo Board!! Cute, right?
Want to make a quick, little gift tag for it?

Alright! Grab those X-ACTO templates and decide on an edge pattern that you would like. My templates offered me 4 different options in edges and I chose one that looked like a postage stamp.

I used the paper cutter I own to cut a piece of scrapbook paper down to a 4"x6" size. Then, I cut the construction paper I chose down to a 3"x5" size.

After getting my template in place to cut my edge evenly,

...I grabbed my X-ACTO craft knife with a swivel blade to cut out the edge's design. It was SO much easier than I thought it would be. {This was my first time using this tool.}

Then, I grabbed the template for the gift tag. There are many different sizes to choose from. {I love this!!} I chose the second largest size and cut it out with my X-ACTO craft knife.

For a nice, finishing touch to the gift tag, I used a heart shape on one of the templates and centered it over a butterfly to cut it out.

Now, cut a small piece of ribbon that's also big enough to tie a bow with.

And tie that bow through the top of the tag shape you just cut out.

Yep! Its time to grab that foam mounting tape again! I placed 3 pieces on the back of the tag so it wouldn't sag in the middle after attaching it to the scrapbook paper.

Then, cut a small piece to put on the back of the heart you cut out.

This is how I positioned my tag on the scrapbook paper as well as the heart on the tag. I really like the 3D look the mounting tape gives these things.

Personalize your tag...

and stick it on the board. I think it's a cute way to gift this item. Don't you?

Here's the finished look!
 DON'T forget to enter to win the wall! :)
**This project has been compensated as part of a social shopper insights study for #ElmersHoliday #gluenglitter #Looks4Less #collectivebias #CBias. All opinions and views are 100% my own. Others may have a different experience or opinion.


0 comments:
Post a Comment
I am so happy you stopped by today. What is on your mind?